fbpx

So You Have Pawpaw Seeds. Now What?

Hand with fanned fingers holding a pawpaw seed (Asimina triloba)

A Comprehensive Guide to Growing Pawpaws from Seed

This post contains affiliate links. As a member of the Amazon Associate program, I may earn a commission from qualifying purchases at no cost to you.

Whether you’re seeking out pawpaw seeds or embarking on a journey as a new grower, this comprehensive guide is just for you. You’ll find insights on seed saving, cold stratification, germination, and planting tips to help you nurture your very own pawpaw from seed to fruit-bearing tree.

Why grow from seed? Although it can take seven to eight years for a plant to produce fruit, there are several solid reasons to take this route:

  • Raise a tree suited to your specific region and climate
  • Grow your own hardy rootstock for grafting
  • Introduce genetic diversity for cross-pollination with existing pawpaws
  • Establish a woodland population in a cost efficient way

Healthy pawpaw seeds are dark brown and roughly the size of a lima bean. A strong indicator that a seed is dried out and no longer viable is a light to medium brown color.

Stratified Pawpaw Seeds (Asimina triloba)
Non-Viable Pawpaw Seeds (Asimina triloba)

Wild foraged fruits can be smaller, seedy, and hit or miss in flavor. On the other hand, cultivated fruits demonstrate superior characteristics in terms of size, seed ratio, taste, and hardiness.

When purchasing seeds, be sure to source from a reputable seller. Pawpaw seeds are not true to parent; however, quality parent plants will likely produce a good offspring plant. There will still be an element of chance, though.

Most importantly, buyer beware of vendors that claim their seeds will produce a specific or trademarked cultivar. This is false advertising.

Wild Foraged Pawpaw Fruit (Asimina triloba)
Cultivated Pawpaw Fruit (Asimina triloba)

Seed Saving

Peak fruit harvest ranges from late July to mid-October, depending on the cultivar (early, mid, or late season) and your regional climate. This is prime time to collect pawpaw seeds from tasty fruit or resilient plants.

Clean and disinfect seeds by removing all pulp and soaking in a fifty-fifty mix of hydrogen peroxide (3% concentration) and filtered water for three to five minutes. Drain and rinse well.

There is no need to worry about floaters. The 15-minute float test for viability does not apply to pawpaw seeds, which are buoyant (Kentucky State University, 1990). When split open, viable seed embryos will be white versus brown/black if not.

Faxon, Charles Edward, "Asimina triloba," Engraved Plate, 1891 (Flowers)
Faxon, Charles Edward, "Asimina triloba," Engraved Plate, 1891 (Fruit)

Cold Stratification

To successfully germinate in the spring, pawpaw seeds need to experience a dormancy period – either outdoors (winter sowing) or indoors (cold stratification).

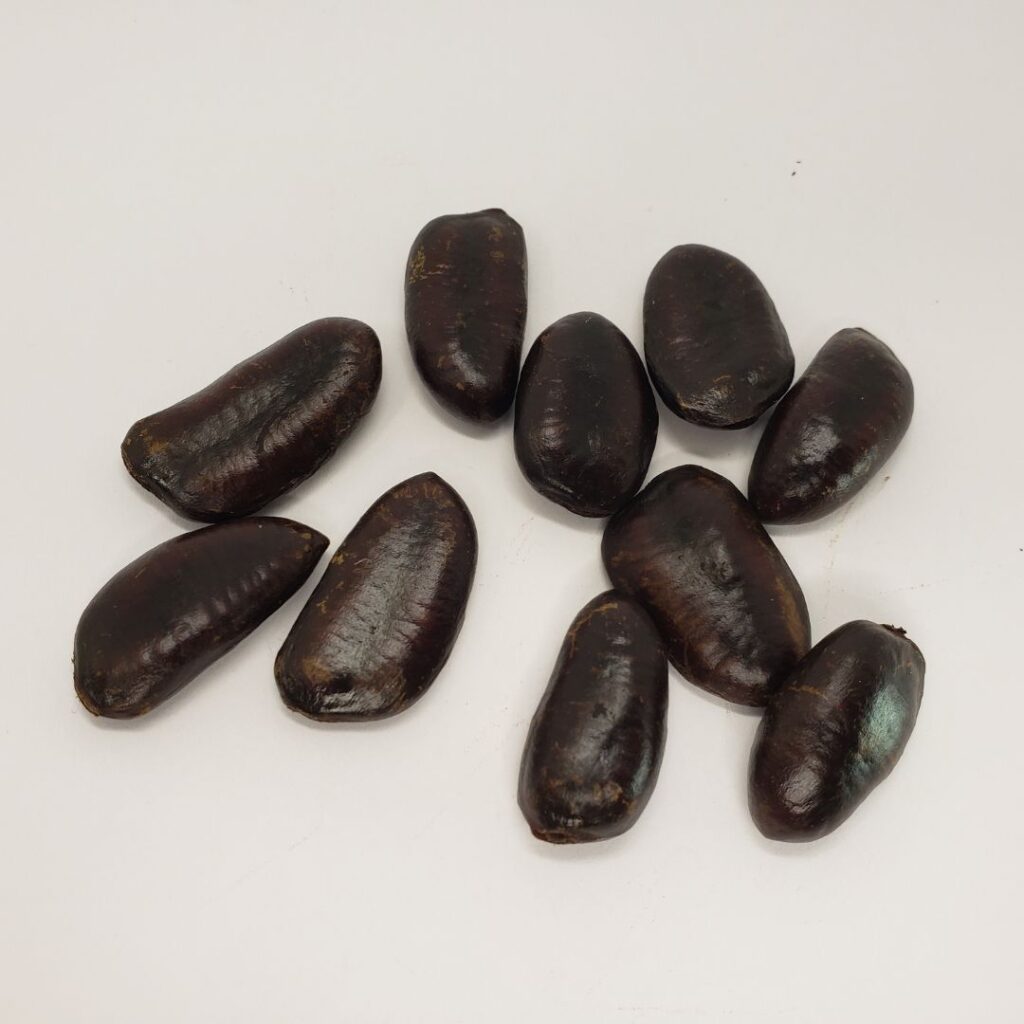
There are two cardinal rules to remember: (1) keep pawpaw seeds moist and (2) do not store pawpaw seeds in a freezer. Both conditions are a death sentence for the seed embryo.

For home storage, keep seeds in a moist (but not wet) medium such as sphagnum peat moss, horticultural sand, or perlite and seal in Ziploc bags. Leave the package refrigerated at 35°F to 40°F for 90 to 120 days. Check moisture levels every 30 days and rinse seeds if necessary.

Germinating Seeds

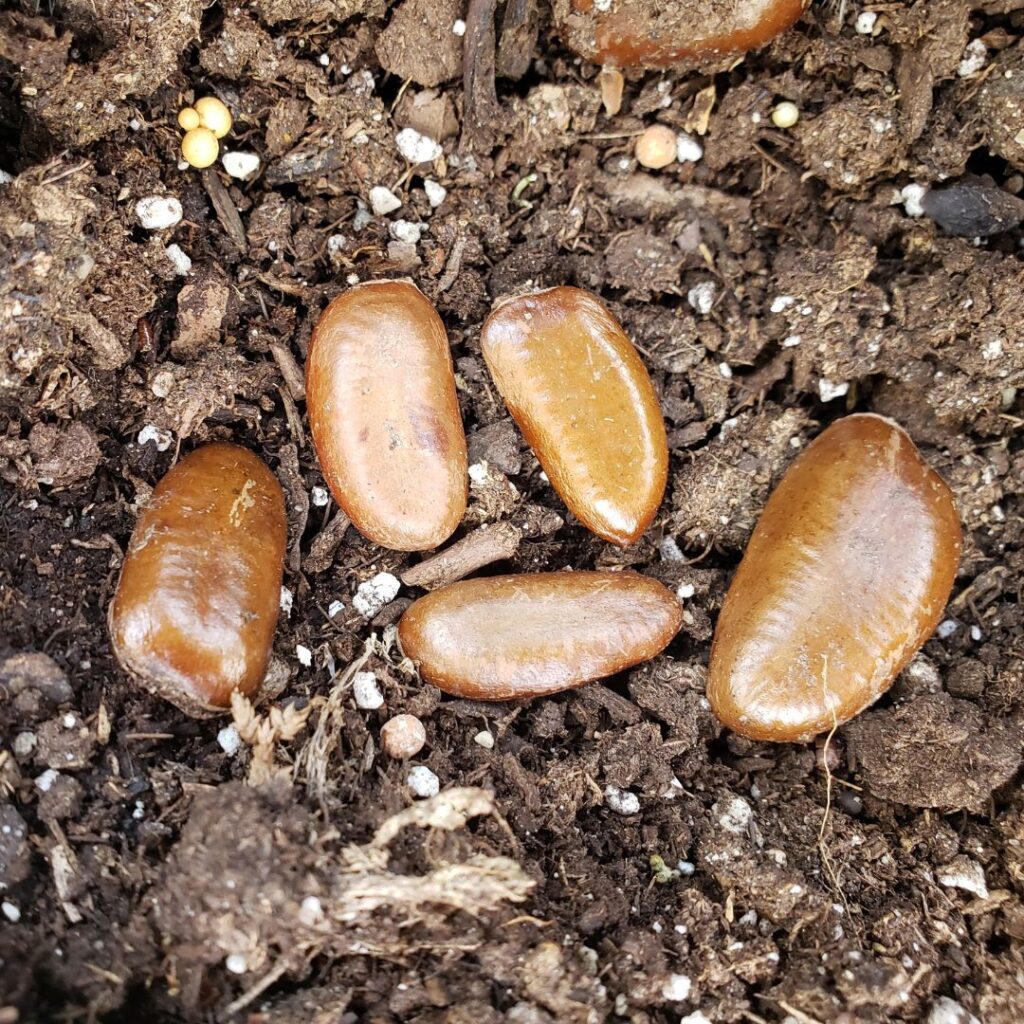
You can start germinating seeds after the cold stratification period. To help the embryo “wake up”, soak seeds in warm water for 24 hours before planting. 

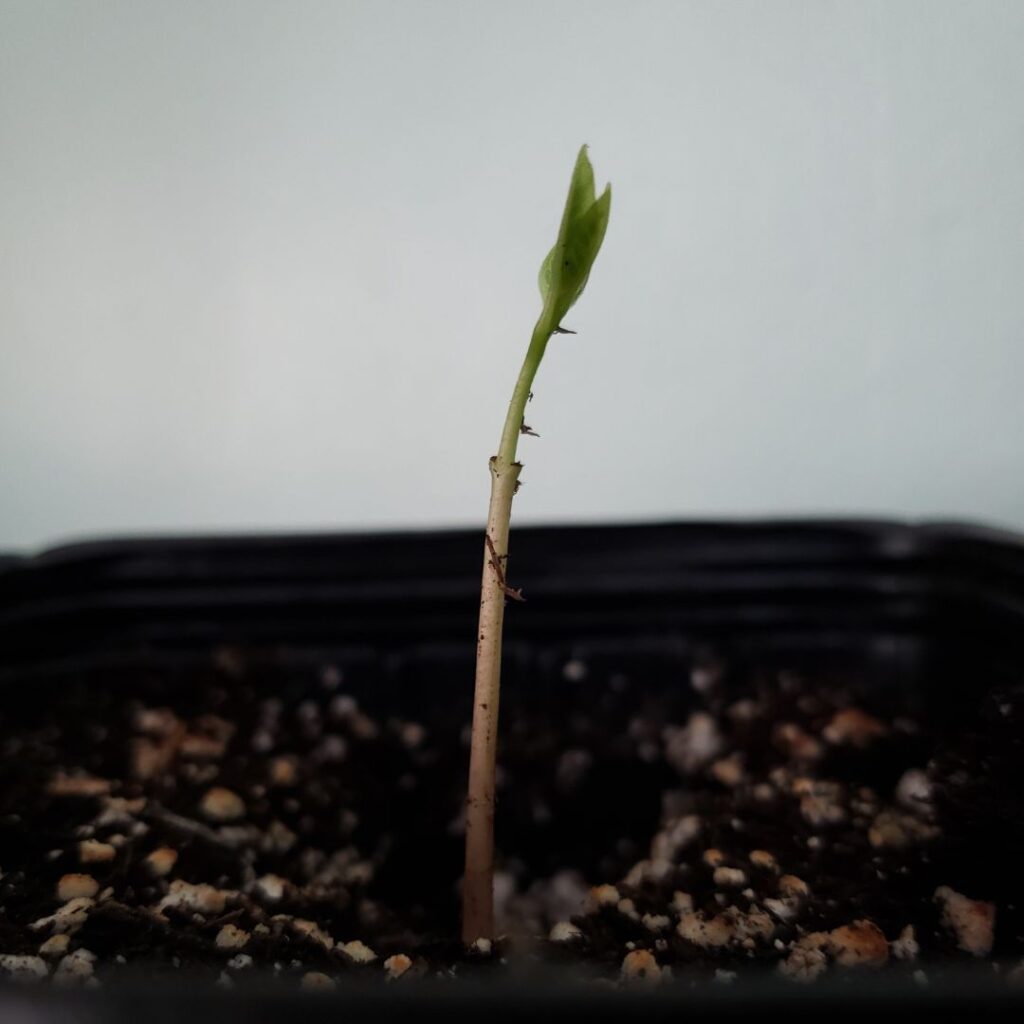
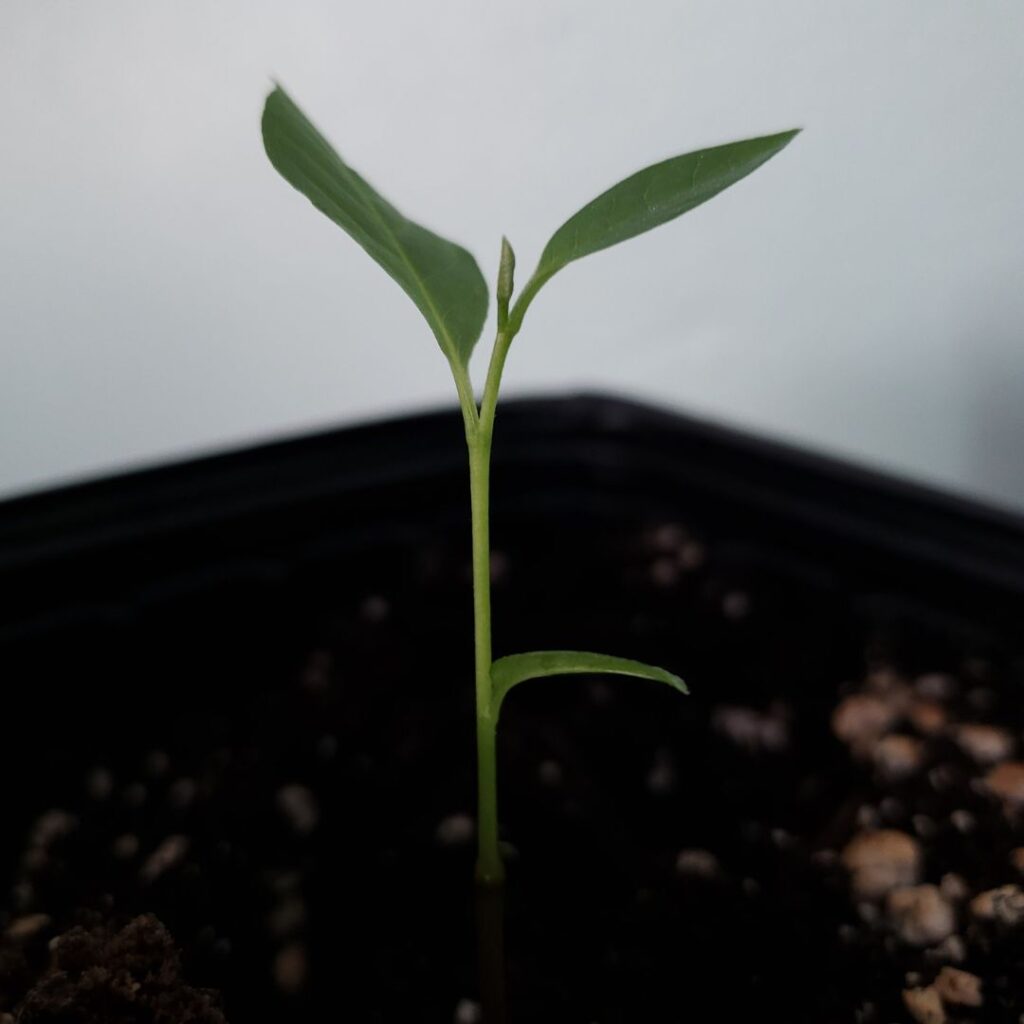
Pawpaw seeds can be finicky. Under the right conditions, seeds can germinate in as early as ten days – or as a late as 18 months (or longer). Don’t give up on your seeds.

You can jump start the process by keeping the seeds at 85°F and carefully monitoring moisture levels. If using a seed heat mat, pick up a thermostat temperature controller and temperature gun for assurance.

Scarification (i.e., mechanical “nicking” of the seed coat) is not necessary.

Planting

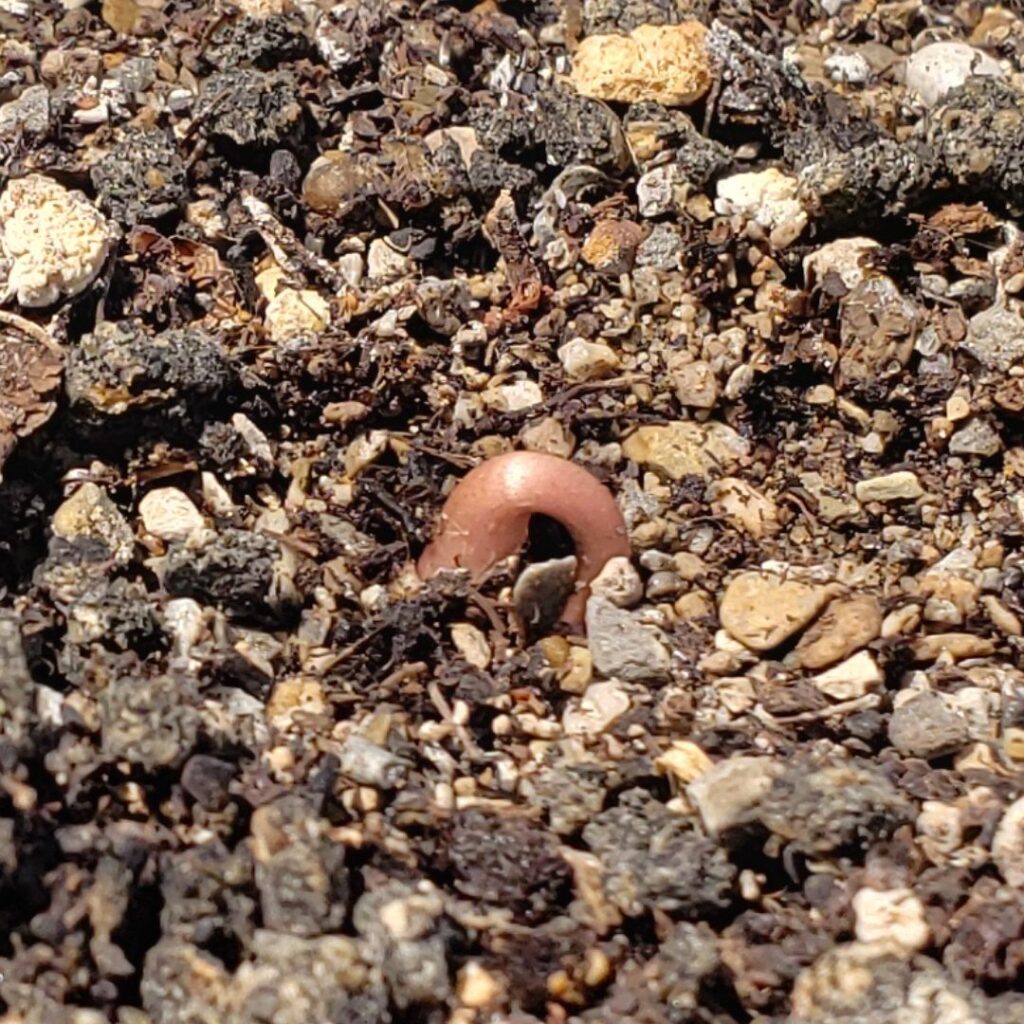
As soon as the radicle (embryonic root) emerges, it’s time to plant. Lay the seed flat on its side and sow one- to two-inches deep in the ground or in a container.

For in-ground planting, the optimal soil pH for pawpaws is 5.5 to 7.0 (Kentucky State University, 1990).

For containers, use high quality potting mix with good drainage. Seeds can be planted in individual tall pots or a large community pot. You can also start pawpaws in smaller containers and “pot up” to build a strong root system, like seed starting for tomatoes or peppers.

Pro tip: in containers, add a layer of coarse horticultural sand on top of the potting mix. This will prevent the seed coat from getting stuck to the cotyledons.

Regularly check moisture levels and apply the Goldilocks principle for watering pawpaws: not too wet, not too dry, but “just the right amount.” A moisture reader can help, especially for indoor starts or during weather swings.
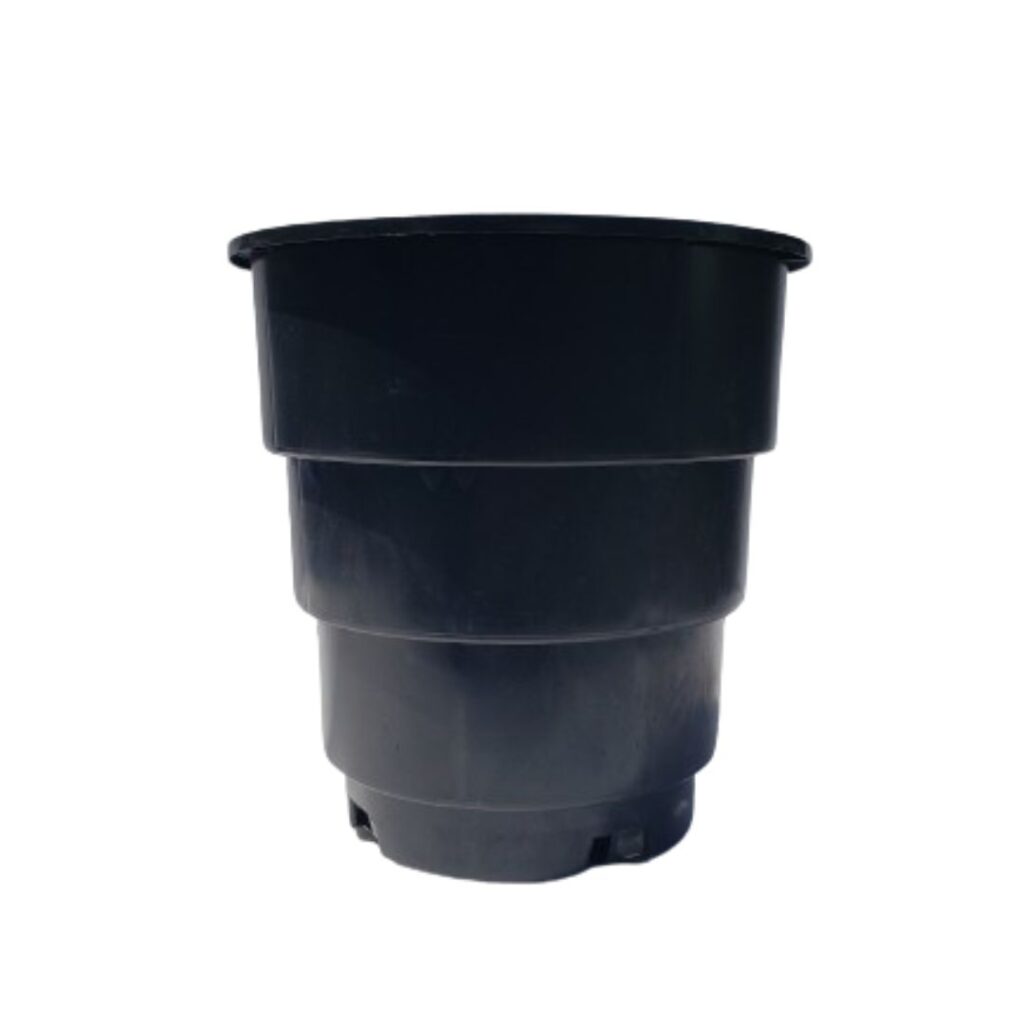
Container Options

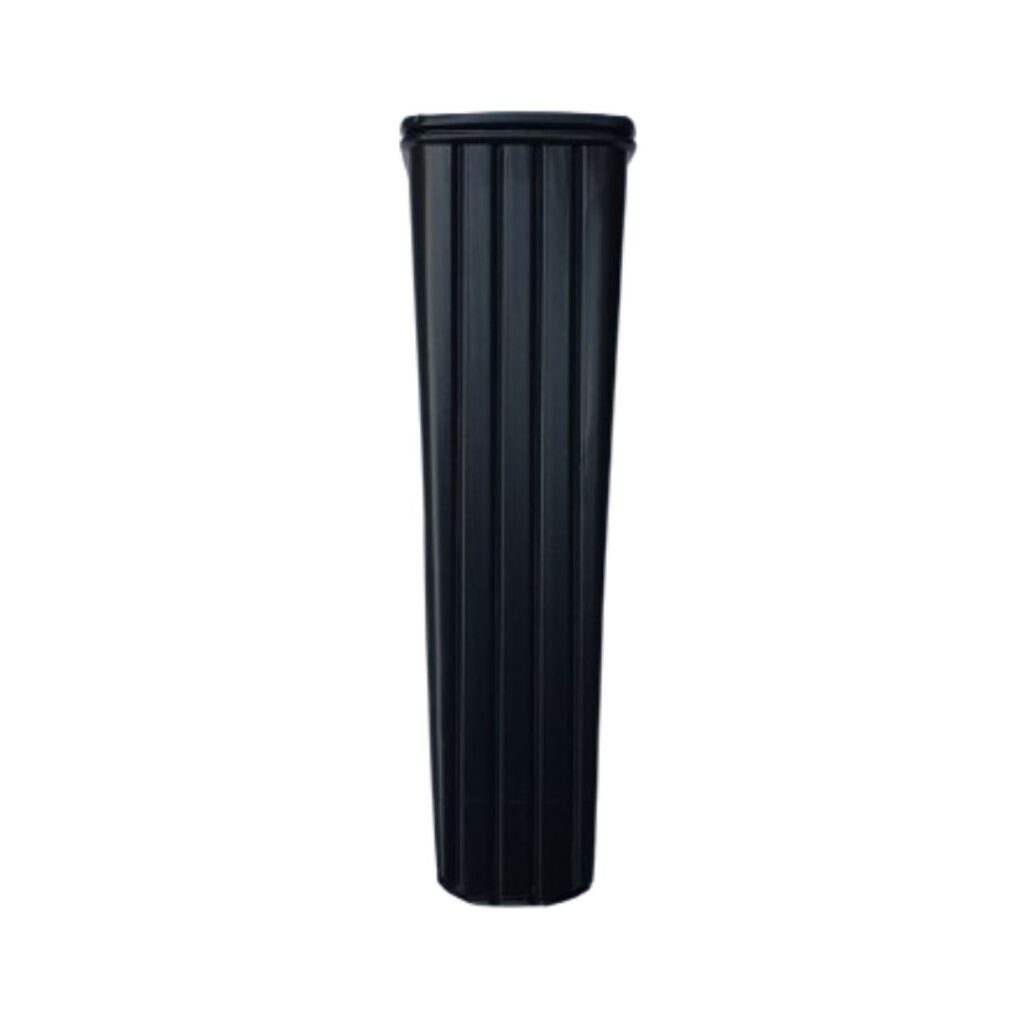
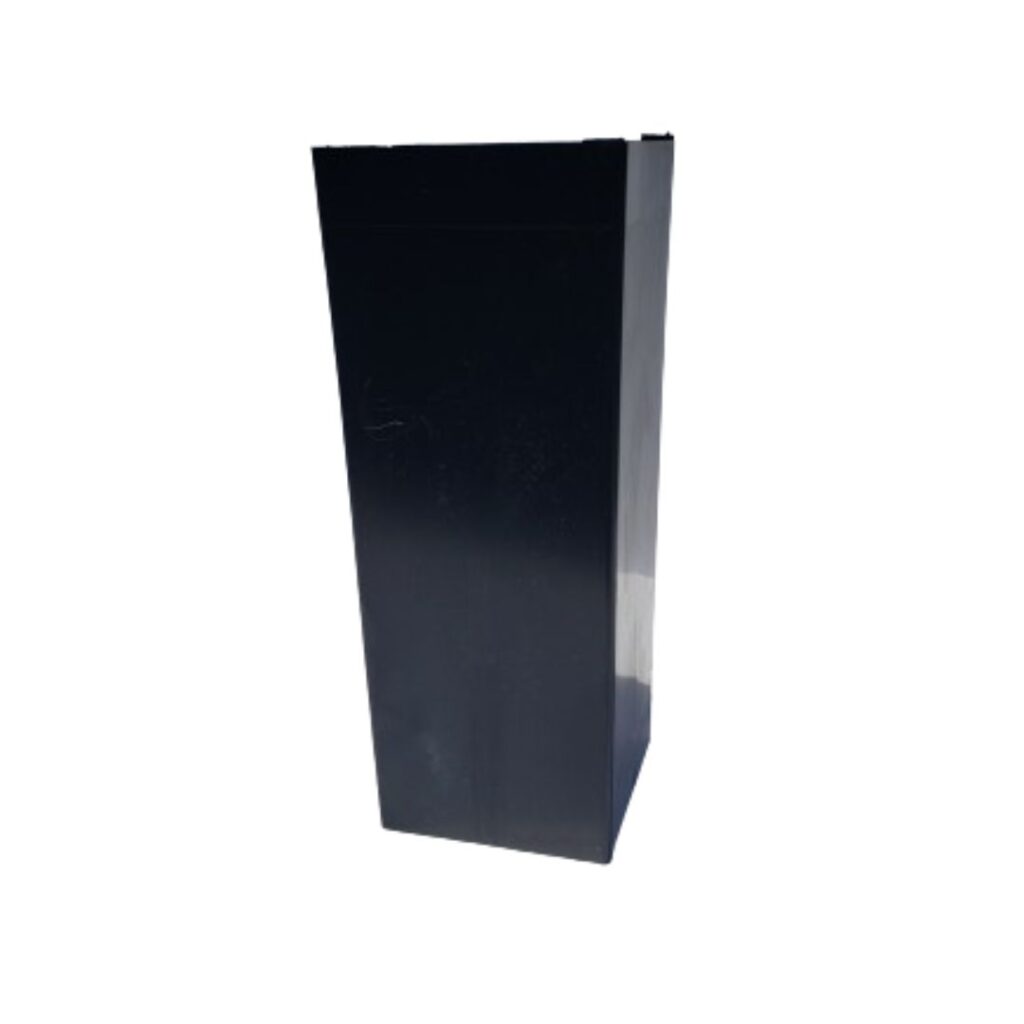
Commercial potting options to grow pawpaws include (left to right):

  • Tall tree pots: 12-14” height (traditional)
  • Anderson band pots: 9-10” height (sweet spot)
  • Rootmaker pots: 1 gallon (promotes strong roots)
Tall Tree Pot
Anderson Band Pot
Rootmaker Pot

The downside is that commercial pots can be cost prohibitive for backyard or small-scale growers. In general, orders must be placed by the case and shipping can cost as much or more than the pots.

What to do? Reduce, reuse, and recycle! Many growers have successfully cultivated pawpaws in milk cartons, plastic jugs, one- or two-liter plastic bottles, or tall cups. Make sure to cut or drill good drainage in the bottom of the improvised containers.

The “Pink Knuckle” and Beyond

Patience is key! After germination, it may take an additional two to three months for the “pink knuckle” (stem) and cotyledons (embryonic leaf) to appear. In the initial years, expect above-ground growth to be slow as the plant focuses energy on root system development.

Fertilization is not necessary until the true leaves develop. At that time, you can apply synthetic or organic plant food according to directions.

There is no issue with keeping young plants outdoors in direct sunlight. In fact, this is preferable. However, shade protection may be necessary for greenhouse plants after moving outdoors or transplanting. Learn more about shade material options at Shade Protection for Young Pawpaw Trees.

Another consideration is air pruning for container plants (Walker, 2005). This can be as simple as using an elevated milk crate or constructing an air-pruning propagation bench. The goal is to support healthy root growth and prevent the long taproot from curling, twisting, or becoming pot-bound. When a taproot is exposed to air, it “burns off” and the plant redirects energy to branching roots which will result in a sturdier and more stable tree.

If young leaves emerge in late summer or fall, then appropriate winter storage will need to be planned. The key is to protect the roots from freezing during dormancy. Options include burying containers in the ground or a raised bed with thick leaf mulch cover or storing pots in an unheated garage or shed.

Looking for more growing tips and next steps? Check out Ten Tips to Help Your Pawpaws Thrive.

Got questions? Contact us. Good luck and happy growing!

Pawpaw "Pink Knuckle" (Embryonic Stem}
Pawpaw Cotyledons (Embryonic Leaf)
Pawpaw Seedling

Works Cited

“Cotyledon”. Oxford English Dictionary (Online ed.). Oxford University Press.

Faxon, Charles Edward, “Asimina triloba,” Engraved Plate, 1891, Missouri Botanical Garden, The Silva of North America, by Charles Sprague Sargent, Volume 1, t.16, Boston: Houghton, Mifflin and company, 1891-1902.

“Goldilocks principle.” Wikipedia, The Free Encyclopedia, Wikimedia Foundation, 21 March 2024, https://en.wikipedia.org/wiki/Goldilocks_principle.

Jones, S.C., Peterson, R.N., Turner, T., Pomper, K.W., Layne, D.R., 1990: Pawpaw Planting Guide. Kentucky State University extension bulletin. https://www.kysu.edu/academics/college-acs/school-of-ace/pawpaw/pawpaw-planting-guide.php.

Kentucky State University, 1990: Evaluation of Genetic Variation Among Native Pawpaw Patches at the Environmental Education Center at Kentucky State University. USDA-McIntire-Stennis Funding (project KYX-90-09-1). https://www.kysu.edu/academics/college-ahnr/school-of-anr/pawpaw/evaluation-of-genetic-variation-among-native-pawpaw-patches-at-the-environmental-education-center-at-ksu.php#:~:text=Native%20Americans%20may%20have%20spread,can%20develop%20through%20root%20suckering.

Walker, Julia. 2005. Guidebook for Native Plant Propagation: Development and construction of an air-pruning propagation bench, and its proper use. In ‘ESRM 412: Native Plant Production’. University of Washington, College of Forest Resources. depts.washington.edu/propplnt/Chapters/air-pruning.htm

Tractor Supply
Check out our Microgreens at True Leaf Market